Category: Projects


Graduation!

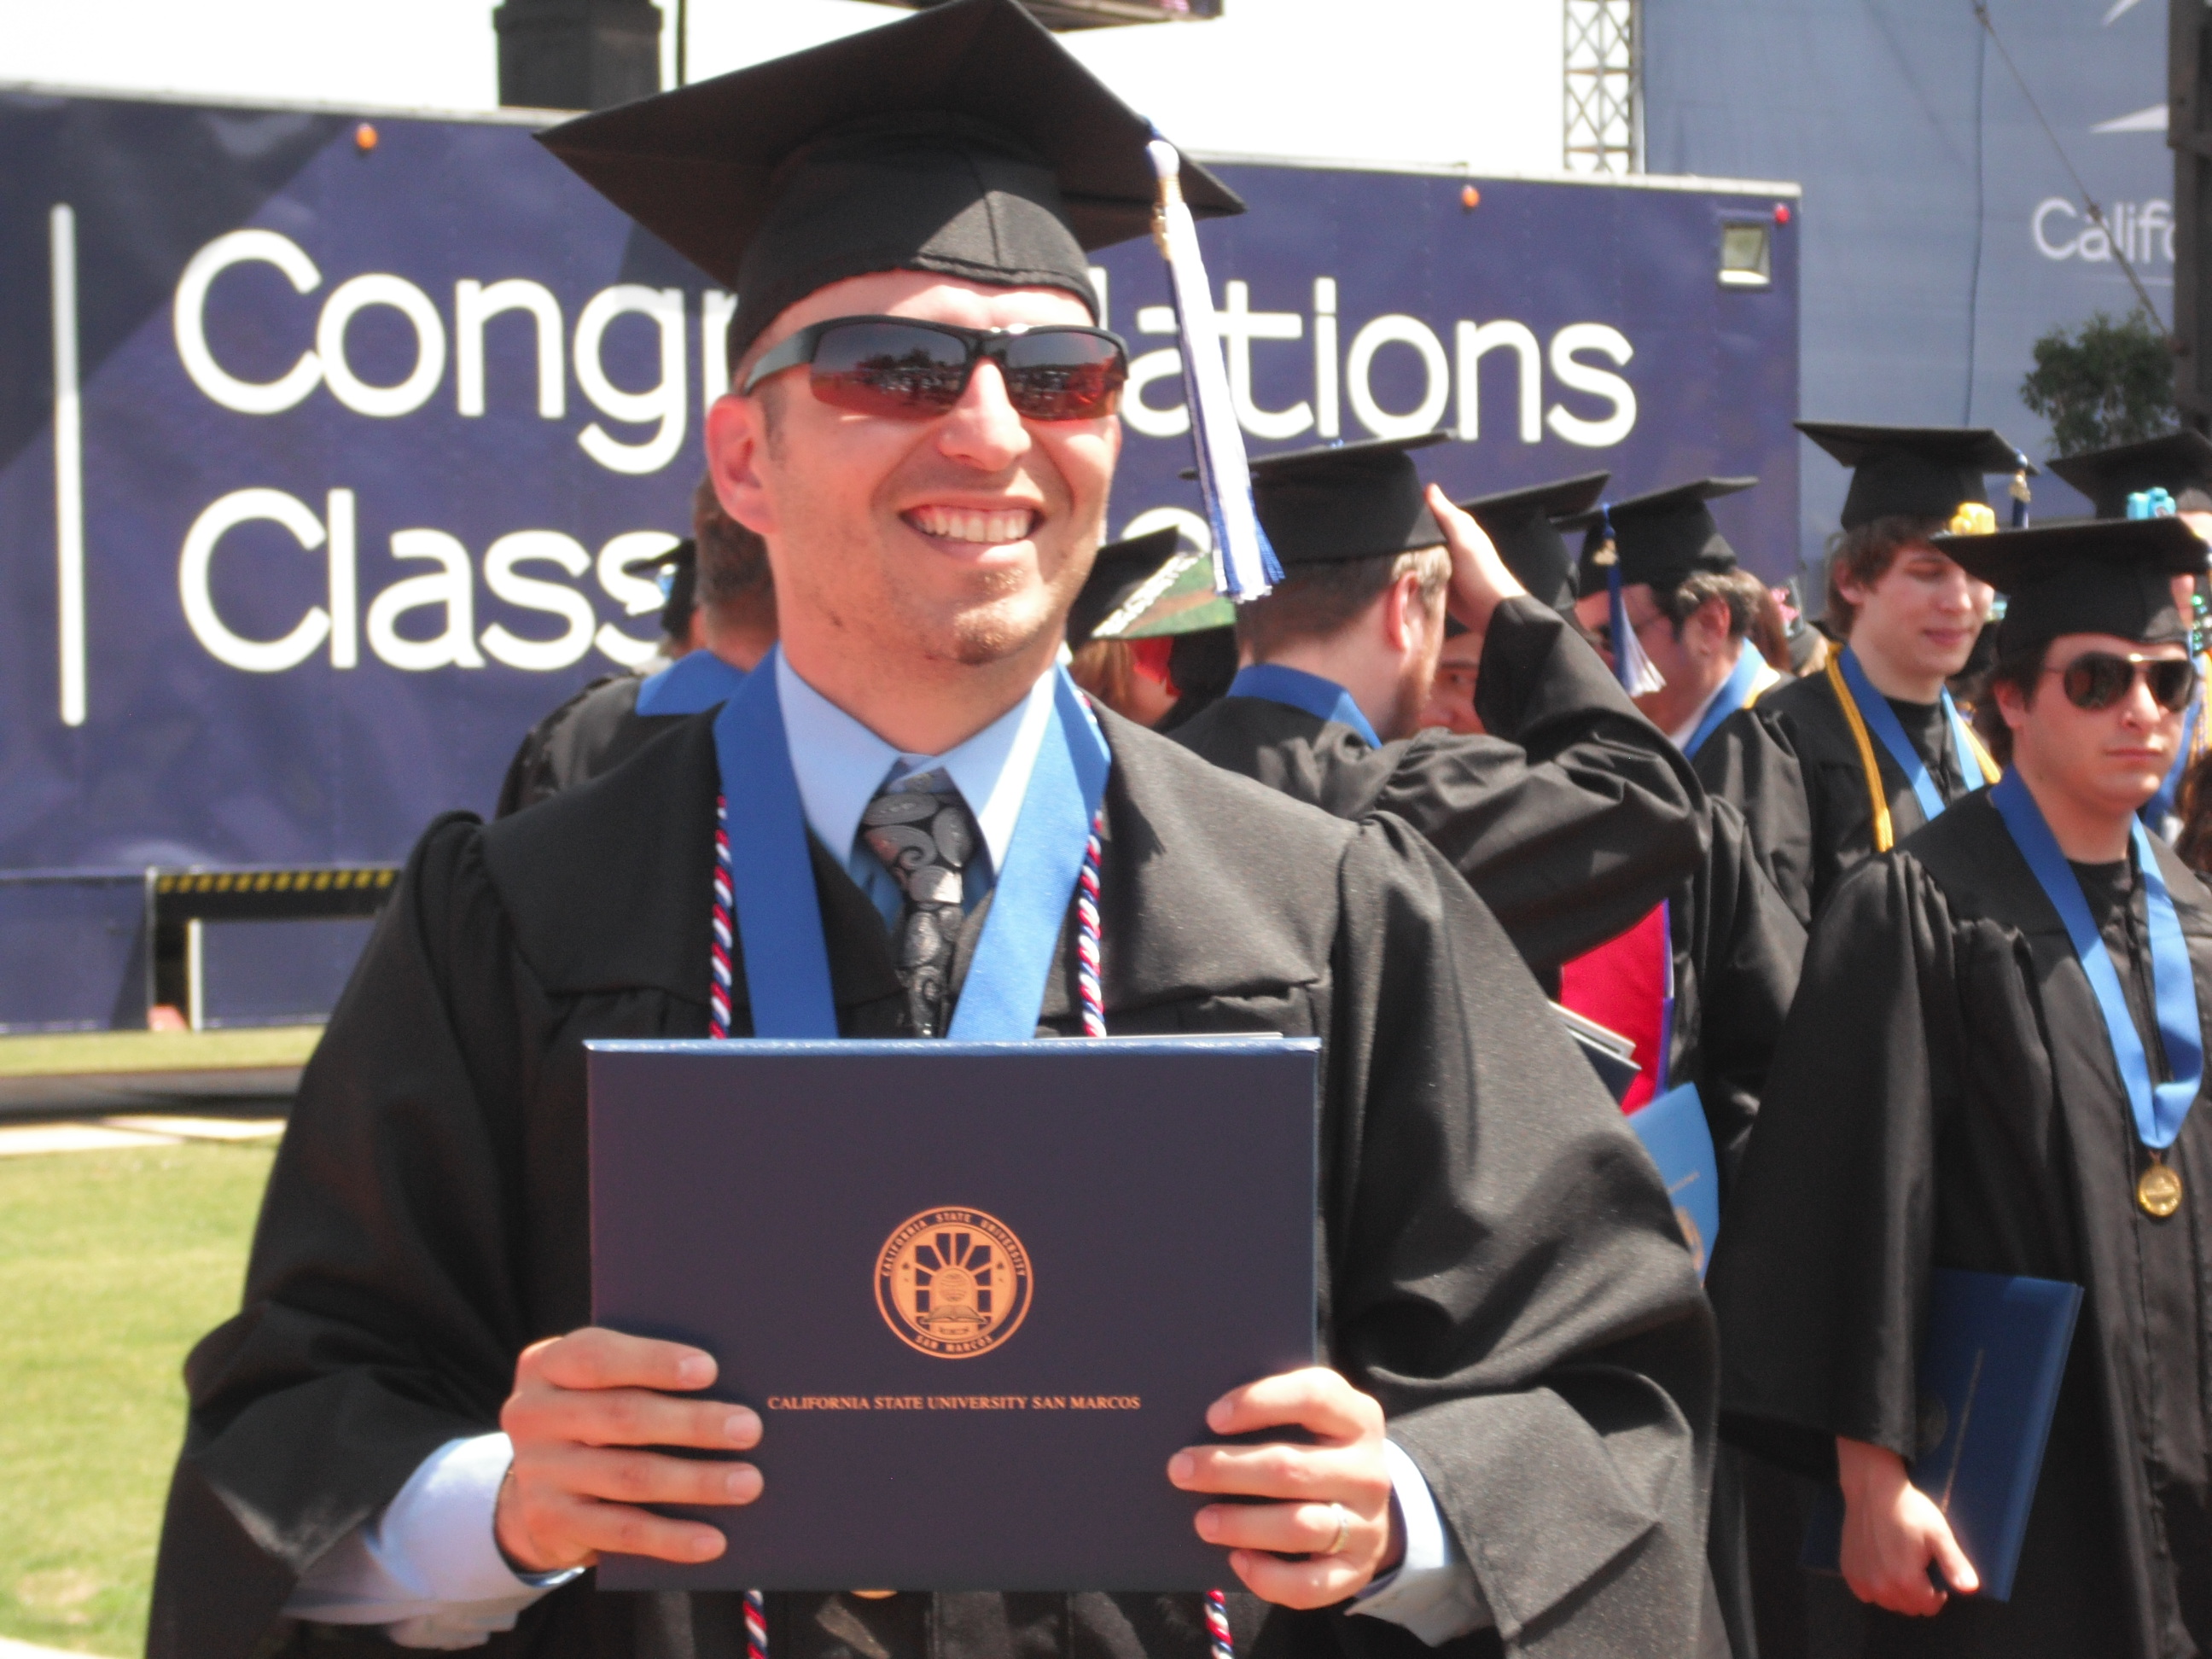
The moment finally came and went.  I graduated, WOO-HOO!  It feels amazing to finally accomplish this goal that I have been after for so long.  I have to thank my family for their support, especially my wife, who has been there every step of the way.

My last semester was truly my most rewarding one because I was able to put my video production skills to work by working on 6 different video projects for Cal State University San Marcos (CSUSM).  On top of that I earned “A’s” in all of my classes and finished up with a 3.3 GPA; not bad for being a dad/husband/student and having 2 (sometimes 3) jobs at the same time.

As usual, I am posting some of my projects as well as a graduation picture.  I have to thank my partners Armand Gutierrez and Matt Unwin because they did an amazing job and they were awesome to work with.  The first video asks students at CSUSM to summarize the last academic year with just one word and also use one word to describe what they hope for the following year.  The second video (graduation) was shot and edited in less than 6 hours (nice job on the edit Matt).  Enjoy!

Image

North County Food Bank Video

As I mentioned in my previous post, I am currently involved in 4 video projects; 2 of which are finally done.  This semester I was enrolled in a class called “Video in the Community” and I have been working with a group of people to create a video for the North County Food Bank (San Diego County).  The objective of the video is to help the Food Bank attract more donors, suppliers, and volunteers.  As usual, I am posting my handy work below, but I cannot take all the credit, my group was awesome and they made this project a breeze; thanks Kevin, Heli, Patrick, Heidy, and Stephen.

With graduation approaching (May 19th), I have to say that I am feeling a bit overwhelmed.  In addition to the presentations and papers due for school, I am also working on 4 different video projects, two of which are for school, not to mention trying to look for a job in this economy.  Anyway, this semester, I was one of three lucky students to be selected as paid video production interns by the Communication department at California State University San Marcos (CSUSM).  The purpose of the internship is to produce four short videos for the school’s website that highlight various aspects of the school and hopefully attract more students.  My two partners and I have chosen to swap roles for each video, however, since we have at least 2 cameras per shoot, we end up overlapping roles all the time (we have all shot video).  The only job we don’t really overlap on is the actual editing because it is difficult for us all to do the editing and it is just not practical.  I edited and worked camera for our first video, which focuses on a couple of the research opportunities offered by CSUSM.  One of the reasons I was so excited about this internship (aside from getting paid) was that I knew I would have the chance to put my newly created dolly to good use.  Check out the first two videos below.

http://youtu.be/brli-ci_UZE

$30 Dolly and Track

A couple of months ago, I got the itch to build a rolling dolly.  “What the heck is that?” you ask.  It is basically a mini railroad track for a camera to slide along back and forth, so you can get some rolling shots.  Why not just buy one?  Well as you may or may not know I am not rich and famous quite yet, so I can’t just go out and buy one.  Plus, I thought it would be fun to build one of these and test my handy-man skills (DISCLAIMER: I am not an engineer, LOL).  I am not going to go through a step-by-step tutorial of how I did this, because I feel that it is basic enough for most people to figure out and make on their own.  Additionally, I tried to use what I had on hand so I didn’t have to spend money buying a bunch of things.  I also wanted to post some pictures of this thing because a friend asked me to blog about it (this one’s for you Jeremy).

The first place I looked was my garage and found some old 2×3 pieces of wood that I used for my track.  I cut each piece into segments about 2 feet in length.  I then cut two “V” shapes on one of the long sides of each piece to serve as divots for the PVC pipes to rest in and prevent them from rolling around (pictures below).  Next, I asked my friends, family, and coworkers for a spare piece of plywood that would be big enough to make a base where I could place a tripod and camera.  I was able to grab a spare piece of plywood from my job, so that was easy.

After that, I went looking for wheels.  I decided to go to a store that sold used sports gear, Play it Again Sports, and found a pair of rollerblades for $20.  I cut out the wheels, cleaned them (mostly with a rag and generic brand WD-40), and then mounted them on four “L” brackets that I bought at Home Depot for about $2 ($0.50/each).  Once I saw how the wheels were going to fit and how far apart they were going to be, I went back to Home Depot (it’s literally walking distance from my house) and bought two PVC pipes (1.5 inch diameter), which were 10 feet long for about $6 ($3/each).  I am “guesstimating’ the prices here because I threw away the receipt, but in total I spent less than $30 to build this thing.  I must say that the dolly shots look super smooth thanks to my 3-year-old son, who took the painstaking task of testing it; he loved having his own railroad in the house.

So far, I have only used the dolly a handful of times and I am planning on using it again this weekend for a couple of shoots, but it definitely adds a tremendous amount of production value to any shoot, so I would definitely recommend it to any filmmaker.  Oh, and you may be wondering: “How smooth does it it roll?”  It’s silky smooth!  Check out a few pictures below (sorry about the quality, they were taken with my phone). If you would like to see a few of the shots check out this 2 minute video that I made for my school.

This slideshow requires JavaScript.

Good bye 2011. HELLO 2012!

Ok, here it is, the “2011 wrap-up” post…

2011 is gone and 2012 is finally upon us.  I don’t know if this will be the end or the beginning, but I would like to wish everyone a happy new year and also take a quick look back at the year that just passed.

In terms of moving forward and making progress, 2011 was definitely a good year for me.  I completed all the required courses for my bachelor’s degree (Mass Media Production), so now I just have to concentrate on finishing up my minors.  I almost can’t believe I’ll be done with school in a few short months; just one more semester to go before graduation.

Another major milestone for me in 2011 was completing a documentary film I worked on for a couple of years called Blood We Shed.  It was an official selection at the G.I. Film Festival in Washington DC, which I am extremely proud of.  It originally started out as a class project, with zero budget, however it turned into an amazing documentary.  In case you have not seen it yet you can check it out below:

I also fell in love with digital photography in 2011; I made an 8-legged friend that kept coming back to pose for the camera.  I am planning on purchasing a Canon 7D in the next couple of months so that I can continue taking all sorts of pictures as well as make some beautiful videos.  I have a few projects that I would love to pursue this year, but only time will tell if I will be able to get to them.

2012 is looking to be another good year because as I’ve mentioned, I will finally be graduating.  At the same time, I can’t help but feel a bit nervous about life after college, but it’s a good nervous, the kind you feel at the top of the rollercoaster ride.  Once you are on that ride you just have to hold on.  After all, I spent 4 years in the military, got out for two years, then went back in for another 3 years, got out again, and now that I am almost done with college I am looking forward to another awesome ride.

I hope 2012 will be a great year for all of you and let’s keep our fingers crossed that it won’t be our last.

San Diego Music Video Shoot

A couple of weekends ago, I went down to San Diego with some friends and shot a music video; the pictures from my grid (previous post) were taken during the shoot.  The artist is AR15, A.K.A. my buddy Aaron…  Anyway, he obviously worked on the music, but we both shot, edited, and worked on the effects for the video.  Check it out below.

I wanted to mention that my grid was influenced by some of the techniques that Julianne Kost spoke about in the video we watched during class.  My aim was to guide the viewers eyes through the picture, so that one could easily lead to the next through the use of lines and shadows.  The two top-left pictures were taken in my garage; it is certainly not the most aesthetically pleasing thing to look at, but I just love the way the light shines through in the morning.  The rest of the pictures were taken in downtown San Diego during a music video shoot, which was a blast.

Downtown San Diego

Shooting the narrative for a music video

Favorite Class Blogs 3 of 3

Last, but certainly not least, is Anthony Coleman’s blog.  His freeway lights and grid pictures  immediately pop out at the reader.  Nicely done.

http://thebeardedant.wordpress.com/

Another one of the blogs I enjoyed in class was Caitlin Skog’s.  Her pictures of nature were amazing, especially the one of the tornado.  Additionally, her final project, which was about former gang-members and ex-convicts, was courageous, inspiring, and eye-opening.

http://skog001.wordpress.com/