
This is a project I have been working on for several months, from planning to shooting, and of course editing and post production. I am extremely grateful to the students who shared their touching stories; they are humbling and inspiring.
Tag Archive: film
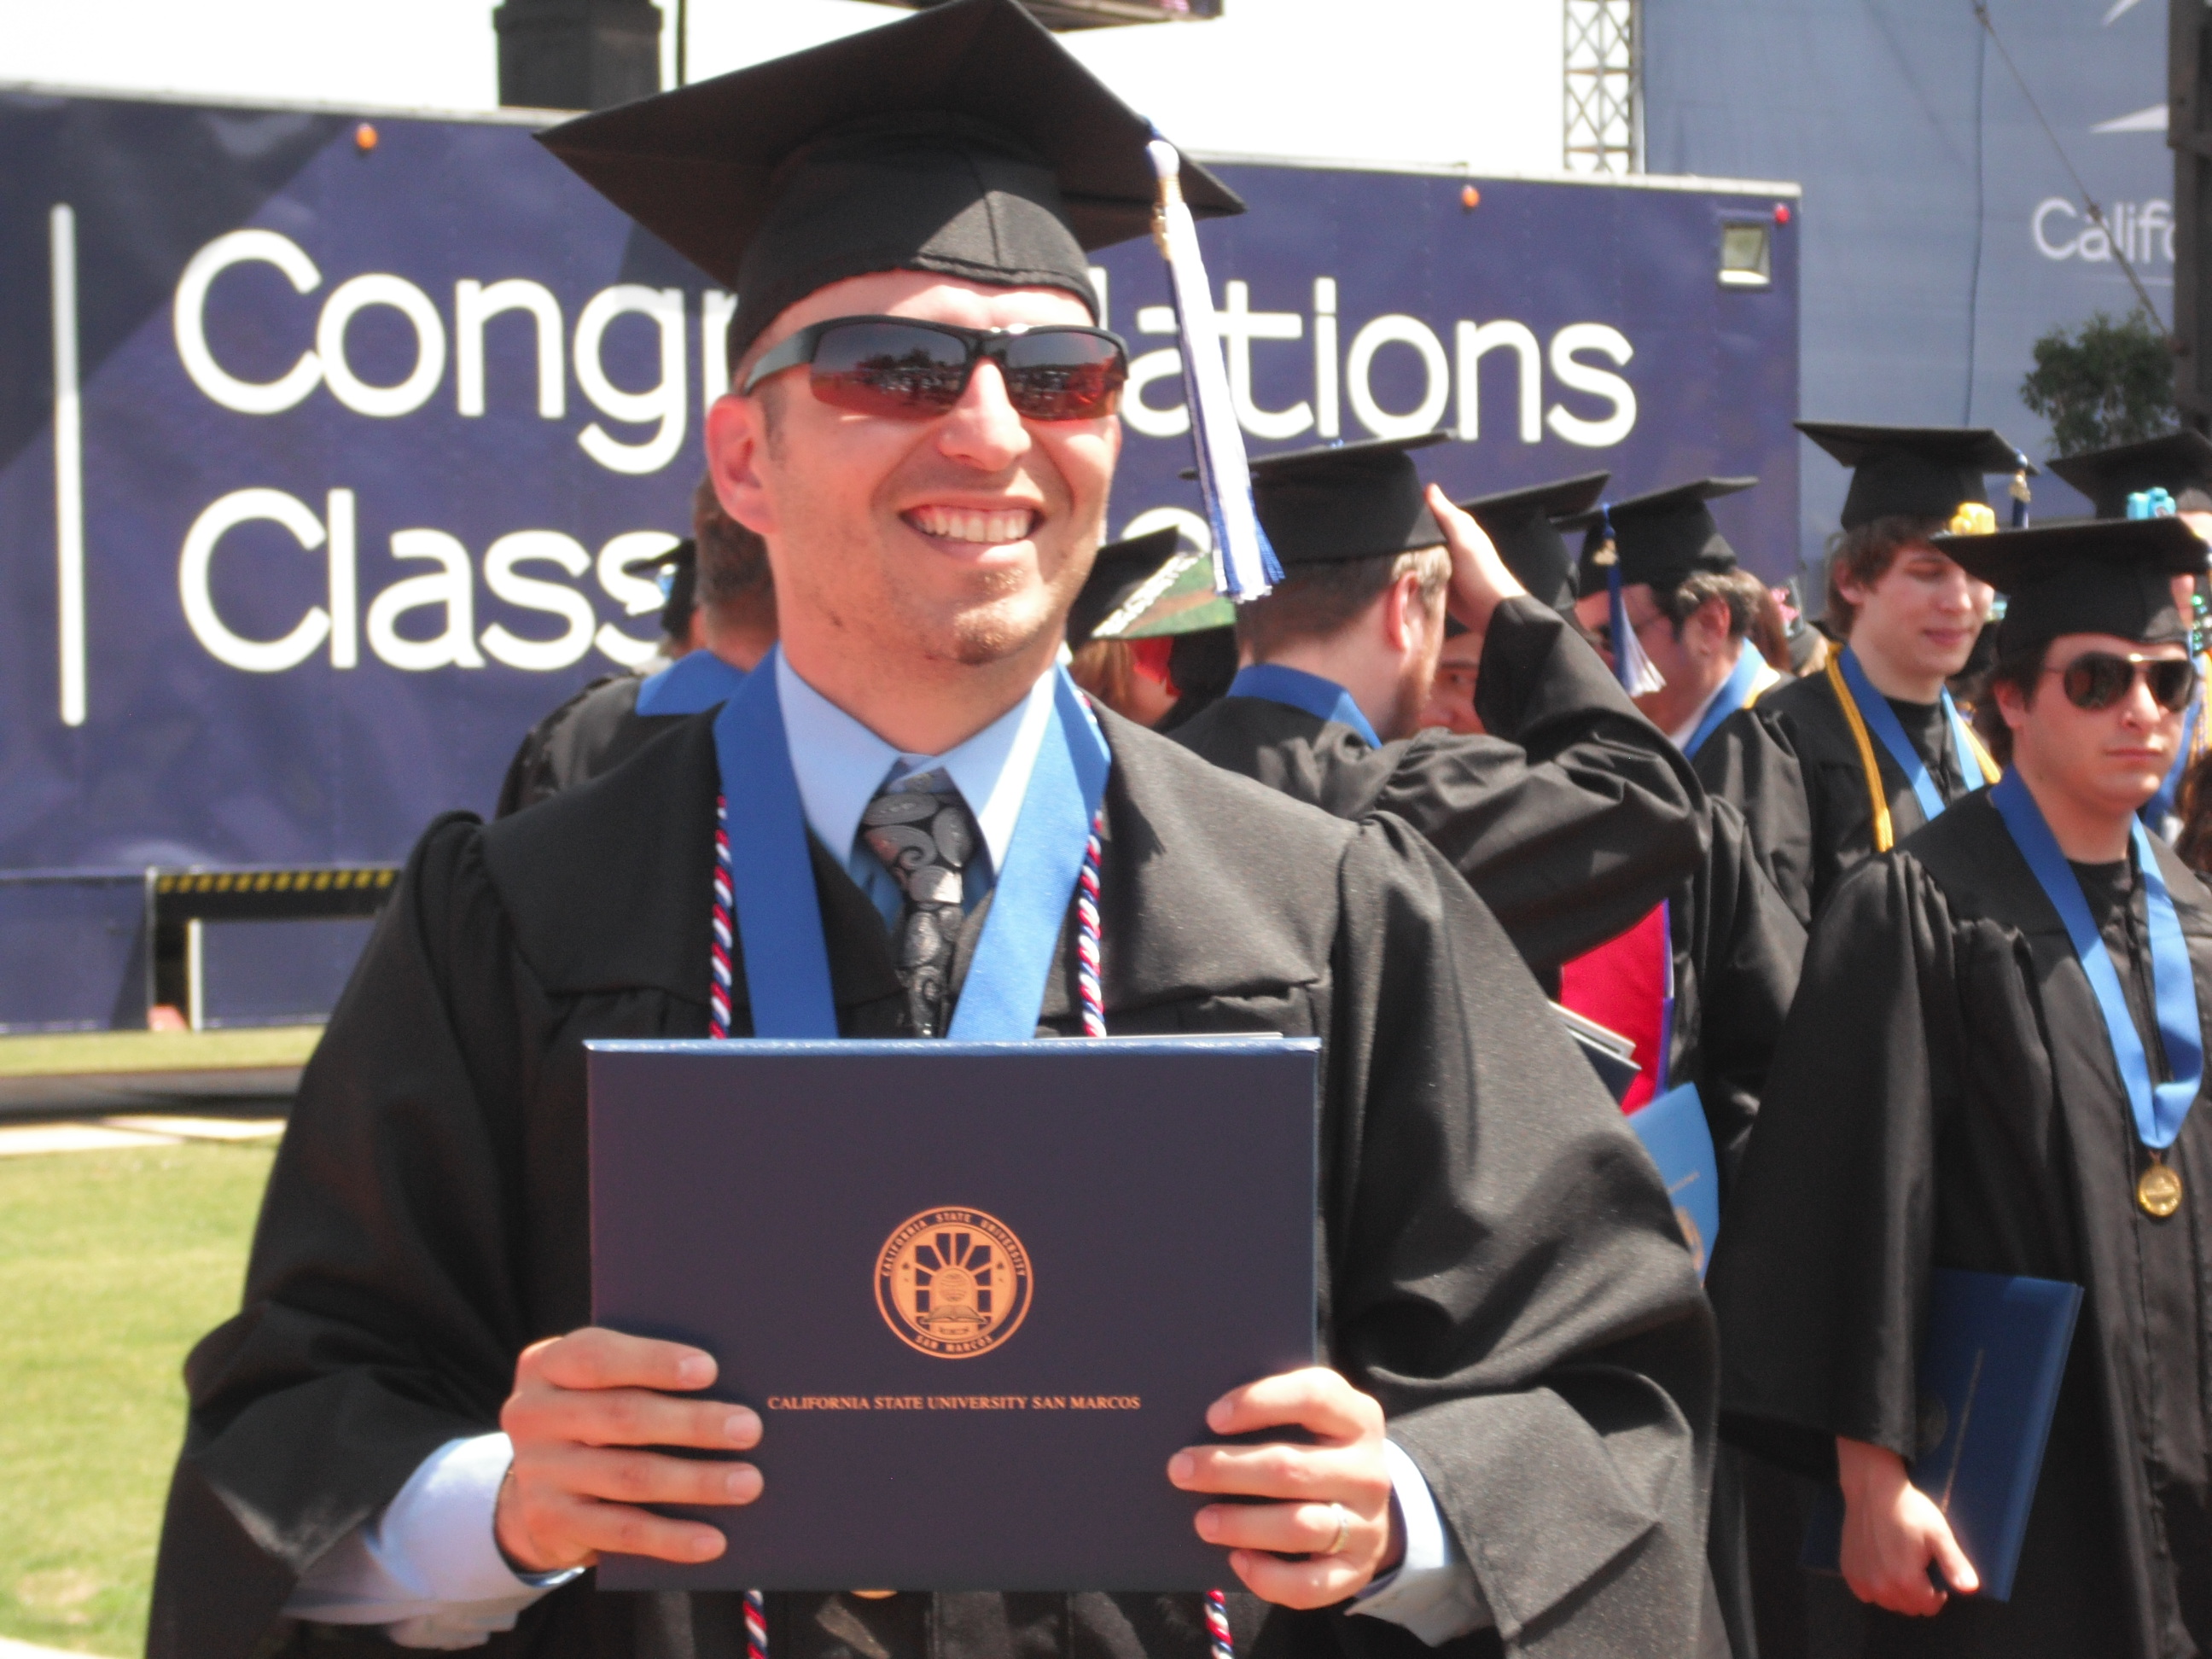
The moment finally came and went. I graduated, WOO-HOO! It feels amazing to finally accomplish this goal that I have been after for so long. I have to thank my family for their support, especially my wife, who has been there every step of the way.
My last semester was truly my most rewarding one because I was able to put my video production skills to work by working on 6 different video projects for Cal State University San Marcos (CSUSM). On top of that I earned “A’s” in all of my classes and finished up with a 3.3 GPA; not bad for being a dad/husband/student and having 2 (sometimes 3) jobs at the same time.
As usual, I am posting some of my projects as well as a graduation picture. I have to thank my partners Armand Gutierrez and Matt Unwin because they did an amazing job and they were awesome to work with. The first video asks students at CSUSM to summarize the last academic year with just one word and also use one word to describe what they hope for the following year. The second video (graduation) was shot and edited in less than 6 hours (nice job on the edit Matt). Enjoy!
As I mentioned in my previous post, I am currently involved in 4 video projects; 2 of which are finally done. This semester I was enrolled in a class called “Video in the Community” and I have been working with a group of people to create a video for the North County Food Bank (San Diego County). The objective of the video is to help the Food Bank attract more donors, suppliers, and volunteers. As usual, I am posting my handy work below, but I cannot take all the credit, my group was awesome and they made this project a breeze; thanks Kevin, Heli, Patrick, Heidy, and Stephen.
With graduation approaching (May 19th), I have to say that I am feeling a bit overwhelmed. In addition to the presentations and papers due for school, I am also working on 4 different video projects, two of which are for school, not to mention trying to look for a job in this economy. Anyway, this semester, I was one of three lucky students to be selected as paid video production interns by the Communication department at California State University San Marcos (CSUSM). The purpose of the internship is to produce four short videos for the school’s website that highlight various aspects of the school and hopefully attract more students. My two partners and I have chosen to swap roles for each video, however, since we have at least 2 cameras per shoot, we end up overlapping roles all the time (we have all shot video). The only job we don’t really overlap on is the actual editing because it is difficult for us all to do the editing and it is just not practical. I edited and worked camera for our first video, which focuses on a couple of the research opportunities offered by CSUSM. One of the reasons I was so excited about this internship (aside from getting paid) was that I knew I would have the chance to put my newly created dolly to good use. Check out the first two videos below.


. Thanks! #pm5k")


